Purpose & Goals
I've been a computer science teacher for several years, inspired by Seymour Papert's constructionism, where students learn through creative projects.
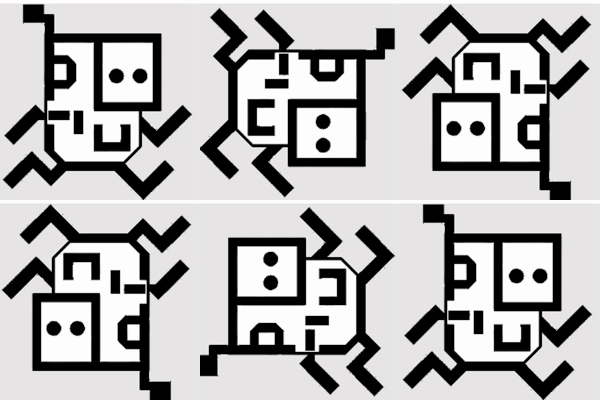
I love seeing the spark in a newcomer's eye as they transition from consumers to creators of technology. However, some students struggle with applying abstract concepts to real-world problems. That's where Karel the Robot comes in!

I had a lot of fun learning to program with Karel the Robot in college. During research for my master's program, I discovered why Karel is so effective: it creates an "instructional scaffold" that lets students focus on problem-solving without getting bogged down by syntax.
Another teaching tool I've used for teaching younger students is Scratch. I loved how students could create their own games and animations. Scratch uses block-based programming as a clever scaffold, but some students struggle with transitioning to text-based languages.
I wanted to combine the best features of Karel and Scratch:
- Scratch's creative environment
- Scratch's block-based programming
- Scratch's ability to share with friends
- Karel's gentle introduction to text-based programming
- Karel's focus on problem-solving
Thus, KarelWorlds was born!
Some Features & Technical Details
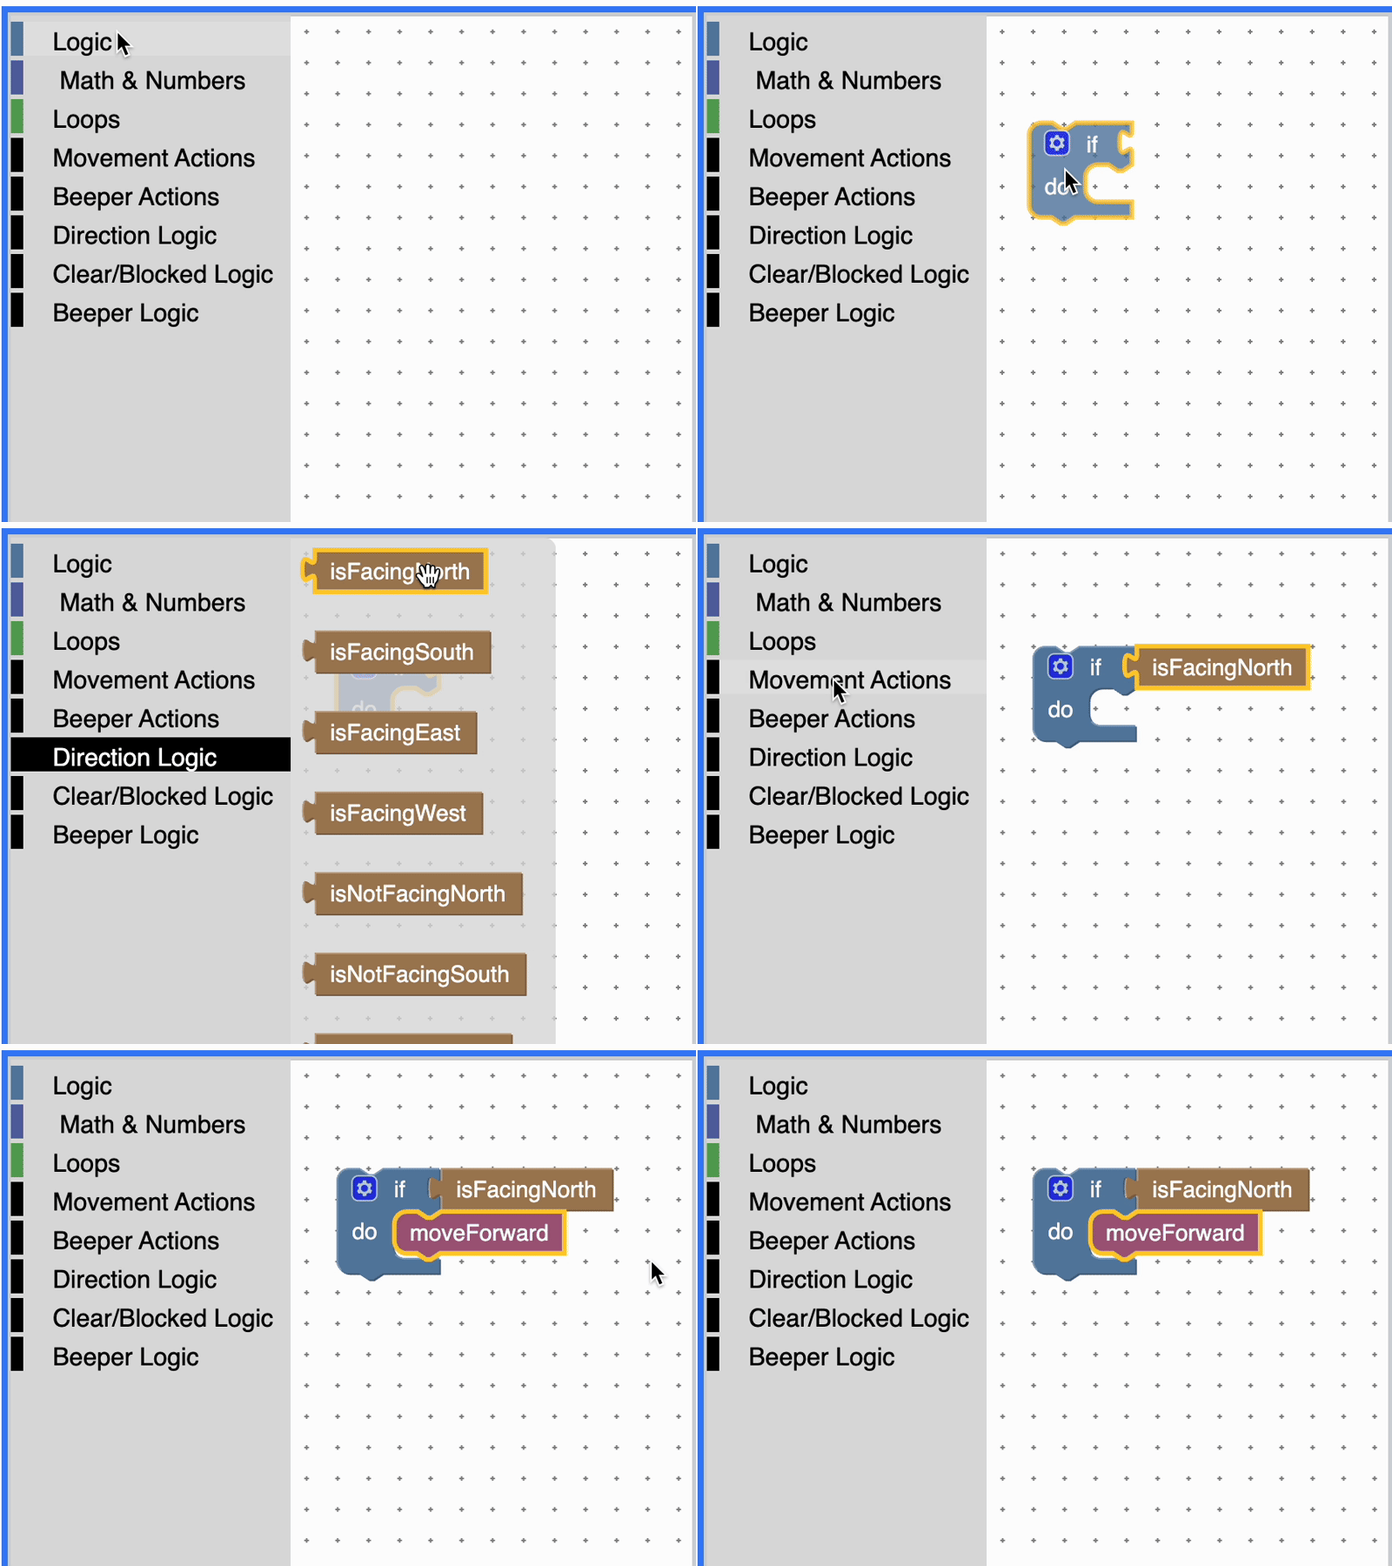
Creating Custom Blocks in Blockly
The trickiest part of KarelWorlds was translating block-based coding into runnable functions in the browser so users could solve someone else's puzzles.
I started by looking at Prof. David Weintrop's studies on PencilCode, a similar project, but found it was not actively maintained.
I then discovered the Google's Blockly ecosystem, which is active and well-documented. Using the react-blockly component, I quickly set up the Blockly editor and started creating custom blocks.

Here's an example of a custom block I created; I was pleasantly surprised it was as easy as defining a JSON object:
Blockly.defineBlocksWithJsonArray([
    {
        "type": "turn_left",
        "message0": "turnLeft",
        "previousStatement": null,
        "nextStatement": null,
        "colour": actionColor,
        "tooltip": "Turn 90° to the left from where you are facing",
        "helpUrl": ""
    },,
    ...
]);
Translating Blockly to JavaScript
Generating code was my next step, and Blockly's JavaScript Generator guide really came in clutch. I also found myself chuckling at some of the personal touches in the docs, like this bit on infinite loops:
Although the resulting code is guaranteed to be syntactically correct at all times, it may contain infinite loops. Since solving the Halting problem is beyond Blockly's scope (!) the best approach for dealing with these cases is to maintain a counter and decrement it every time an iteration is performed.
😂 (emphasis mine).
I then displayed the code using React-Ace, which was straightforward thanks to their live example.

Running the Code
Executing the code was tougher. Blockly recommended JS-Interpreter, and their line-step live demo was really helpful.
I ended up defining my own JS-Interpreter API in one component (<RunnableWorld/>) to translate the generated code and call functions inside a child component, (<RunnableGrid />) , and using forwardRef and useImperativeHandle to call functions in the child component from the parent.
This way, the child component could handle the logic of the Karel world (and throw any errors if Karel tried to walk through the end of the world) while the parent component could handle the logic of running the code. Using ref also solved some component lifecycle issues, since I wanted to execute the code but not re-render the whole Grid component.
Here's a snippet from the parent component defining the API and calling the child component's functions. I'm going to focus on just the moveForward function for brevity:
const RunnableWorld = ({props}) => {

    const gridRef = useRef(null);

    //js-interpreter api
    function initApi(interpreter, globalObject){

        //movement actions
        interpreter.setProperty(globalObject, 'moveForward', interpreter.createNativeFunction(() => {
            try{
                gridRef.current.moveForward();
            }catch(e){
                throw e;
            }
        }));
        // other actions like turnLeft, putBeeper, etc.
        ...
    }
    ...
}
As can be seen, each function had to be 'translated' into the actual function that would be called by the 'grid', a.k.a the child component.
Here's a snippet from the child component handling the logic of the Karel world:
const RunnableGrid = forwardRef(function RunnableGrid(props, ref) {
  //other stuff for the component
  ...
  useImperativeHandle(ref, () => ({
    //callable by user code
    ...
    //movement actions
    moveForward() {
      let newKarel = { ...karel };

      //defining useful errors that would be shown to the user
      const onEdgeError = new Error(
        "Karel cannot move forward. Karel is at the edge of the grid"
      );
      const wouldHitWallError = new Error(
        "Karel cannot move forward. Karel would hit a wall"
      );
      switch (karel.direction) {
        //handling the 'logic' of the Karel World
        case "north":
          if (karel.y - 1 < 0) throw onEdgeError;
          let newKarelCellN = internalGrid[karel.x][karel.y - 1];
          if (newKarelCellN.some((element) => element.isWall())) {
            throw wouldHitWallError;
          }
          newKarel.y = karel.y - 1;
          break;
        //other cases for south, east, west
        ...
      }
      setKarel(newKarel);
      setKarelRunning(newKarel);
    },
    //other actions like turnLeft, putBeeper, etc.
    ...
  }));
});
Displaying the Karel World
To display the Karel world, I ended up using PixiJS, a 2D rendering engine that was easy to use and had a lot of features. I used the PixiJS React package to integrate PixiJS with React. This was cool to create actual components for each sprite or element of my Karel world, which was good to manage the logic of the visual rendering of the grid.
For example, in this component for a Beeper, I render some text on top of the sprite (note the zIndex prop).
import { Sprite, Text } from "@pixi/react";

const Beeper = ({ x, y, width, height, beeper }) => {
  return (
    <>
      <Sprite
        x={x}
        y={y}
        width={width}
        height={height}
        image={beeper.img}
        anchor={0.5}
        zIndex={3}
      />
      <Text
        x={x}
        y={y}
        text={beeper.beeperCount}
        style={{
          fill: "white",
          stroke: "black",
          strokeThickness: 3,
          fontSize: height / 2,
          align: "center",
        }}
        anchor={0.5}
        zIndex={4}
        eventMode="static"
      />
    </>
  );
};

export default Beeper;
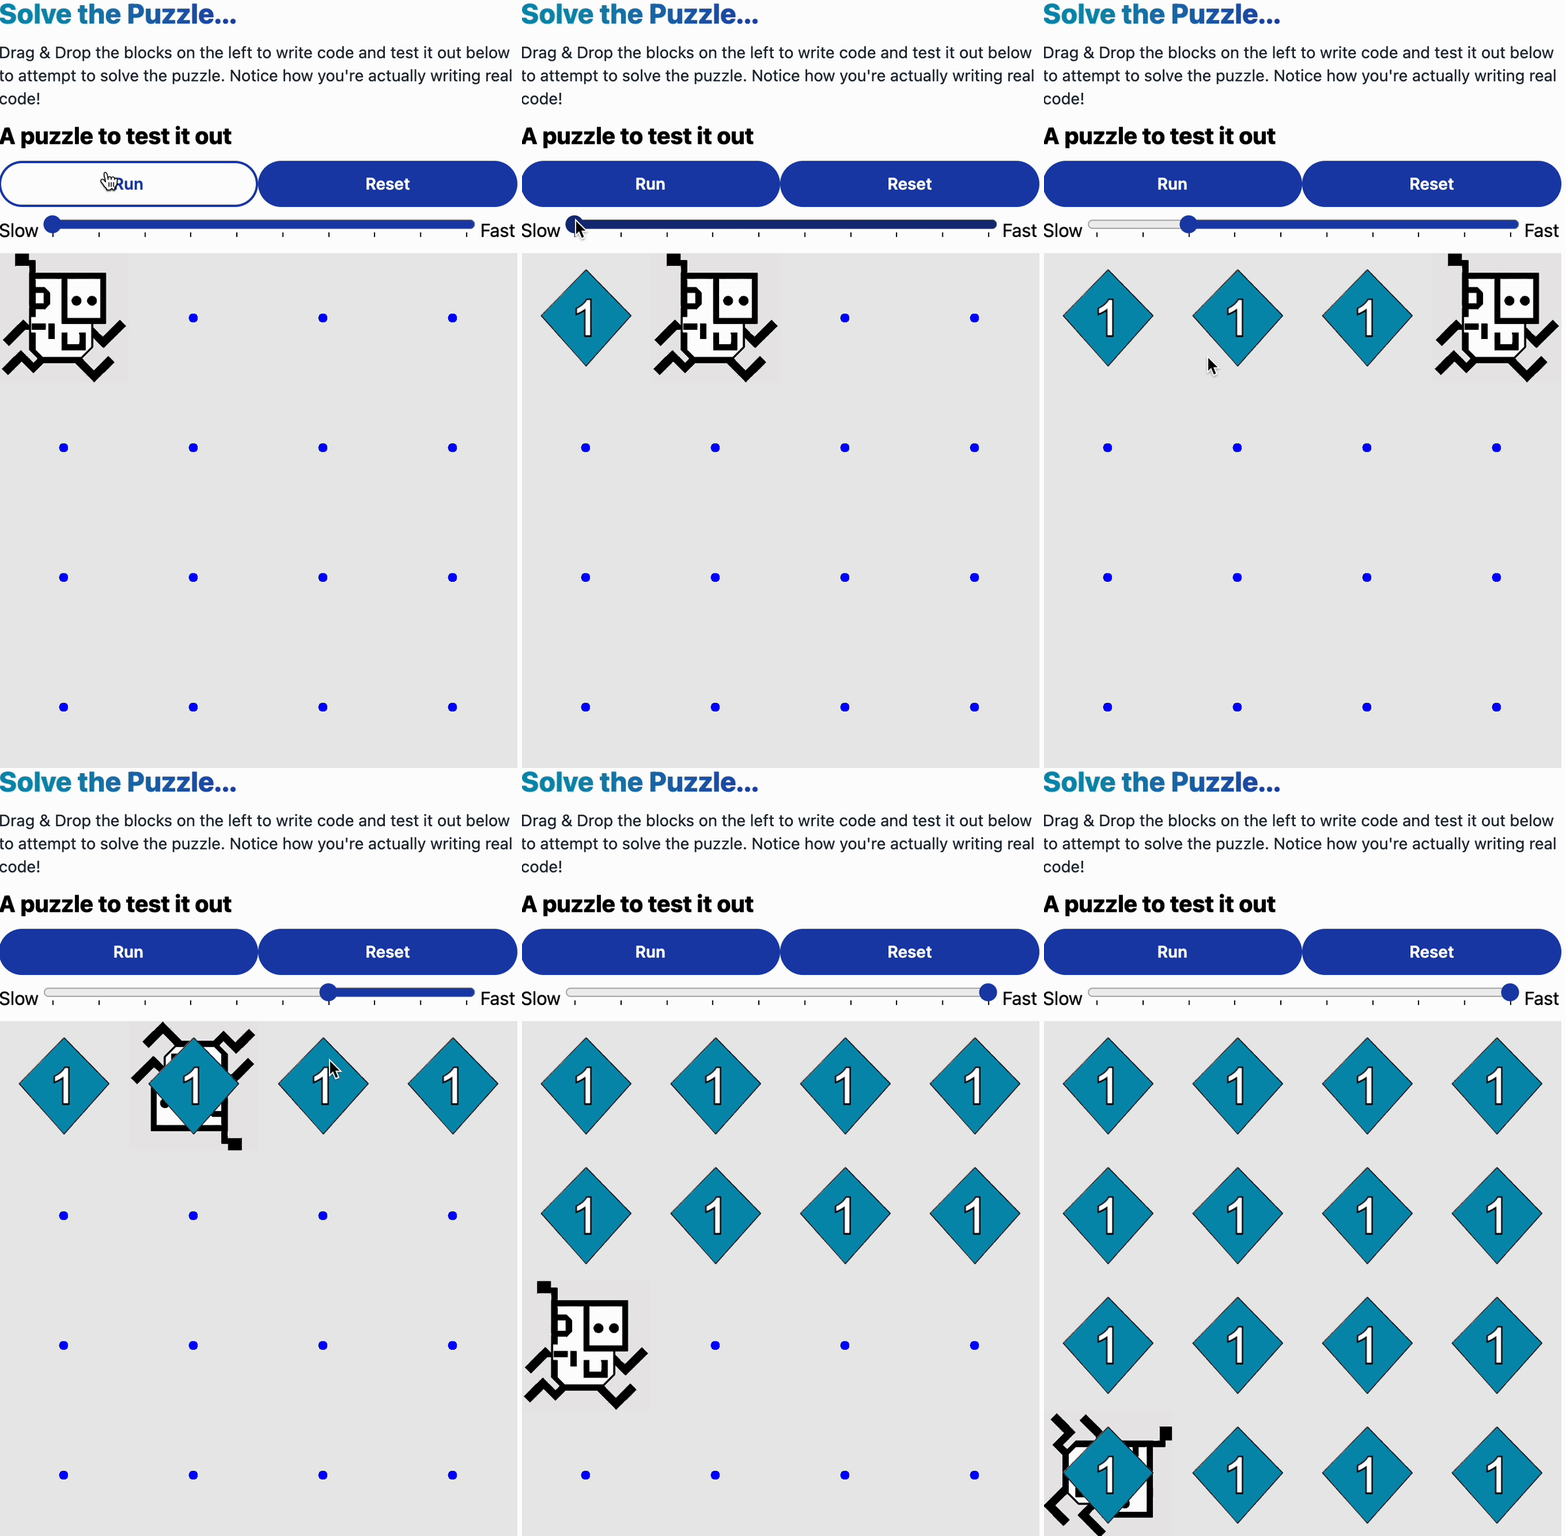
I also used the PixiJS Ticker to animate Karel's movements and used setInterval in a declarative, react-hook way that allowed me to have a slider that controlled the speed of Karel's movements.

Lessons Learned
This solo project has been my largest and most educational yet. Key takeaways include:
- Technical:
- Component Lifecycle: Gained a deeper understanding of managing component lifecycles using
useEffectanduseRef. - API Design: Learned to design component APIs and use
forwardRefanduseImperativeHandlefor parent-child communication. - State Management: Realized the power of
useContextto avoid prop drilling. Definiltey will use Redux for state management in the future!
- Component Lifecycle: Gained a deeper understanding of managing component lifecycles using
- Project Management and Planning:
- User Stories: I was getting a little lost in the sauce of my project. Creating user stories helped me stay focused and prioritize development.
- KIS (Keep It Simple): When integrating new technologies / external libraries (like Blockly, PixiJS, and JS-Interpreter), I found it was best to keep things as simple as possible, get an MVP working, and then iterate.
- Documentation and Getting Help: Read the docs is a mantra for a reason! I also learned a lot from reading other people's code on GitHub, and even asking questions on some library-specific Discord servers.
Future Plans
I took a little break from KarelWorlds after finishing it, but I'm excited to get back to it! Here are some of the things I want to do:
- Short Term:
- Demo & Intro Puzzles: IDevelop introductory puzzles and a tutorial to help new users.
- Medium Term:
- Refactor: Refactor to use Redux for cleaner state management.
- UploadThing: I realized that if I allow users to upload their own images for Karel and the Beepers, I might soon run out of storage space. I want to implement UploadThing, to KarelWorlds.
- Adding Walls: I've already added some code for this, but it's not quite ready yet. This will make the puzzles more challenging and engaging.
- Beta Testing: I want to try to get some of my students to beta test KarelWorlds. I think they'll be able to give me some good feedback on what works and what doesn't.
- Defining Functions in Blockly: I want to allow users to define their own functions in Blockly, to help students see the value of them.
- Code Execution Highlighting: I want to highlight the code that is currently being executed in the Blockly editor and the JavaScript editor -- this will help students see the connection between the two and to understand how code is executed.
- Long Term:
- Teacher/Classroom Accounts: Create accounts for teachers and students so others could use it in their classrooms!
- Safety and Security: Ensure the platform is safe, secure, and free from malicious or inappropriate content.
Extra: Desgin Process
Since I completely designed and developed KarelWorlds, I wanted to share some of the design process I went through.
User Stories
I created user stories to help me guide the design and development of KarelWorlds. Here are a few examples:
| Requirement | User Story | Design Focus |
|---|---|---|
| Create a Puzzle Page | As a novice computer science student, I can create a Karel Puzzle, with separate but 'start' and 'goal' states, so that I can practice my metacognitive skills related to computer science and engage with others socially | Metacognition; constructivism; algorithmic thinking |
| Solve a Puzzle Page | As a novice computer science student, I can see another Karel Puzzle I did not create, and I can code a solution, using blocks that will 'solve' the puzzle, so that I can practice my algorithmic thinking skills | Algorithmic thinking; constructivism |
| Blocks to Code | As a novice computer science student I can see that my use of coding blocks is translated directly to JavaScript so that I can see that novice block-coding is real programming. | Block-to-text transition |
| Puzzle Customization | As a novice computer science student I can customize the 'Karel' and 'beeper' sprites I make so that I can engage socially and in a constructivist way with the material. | Constructionism transition |
| Karel Language | As a novice computer science student I can code and create with as much of the 'Karel' Language as possible so that I can eunderstand basic algorithmic thinking/flow control skills. | Algorithmic thinking |

